Chocolate Hazelnut Truffle Bars
Highlighted under: Oven Food
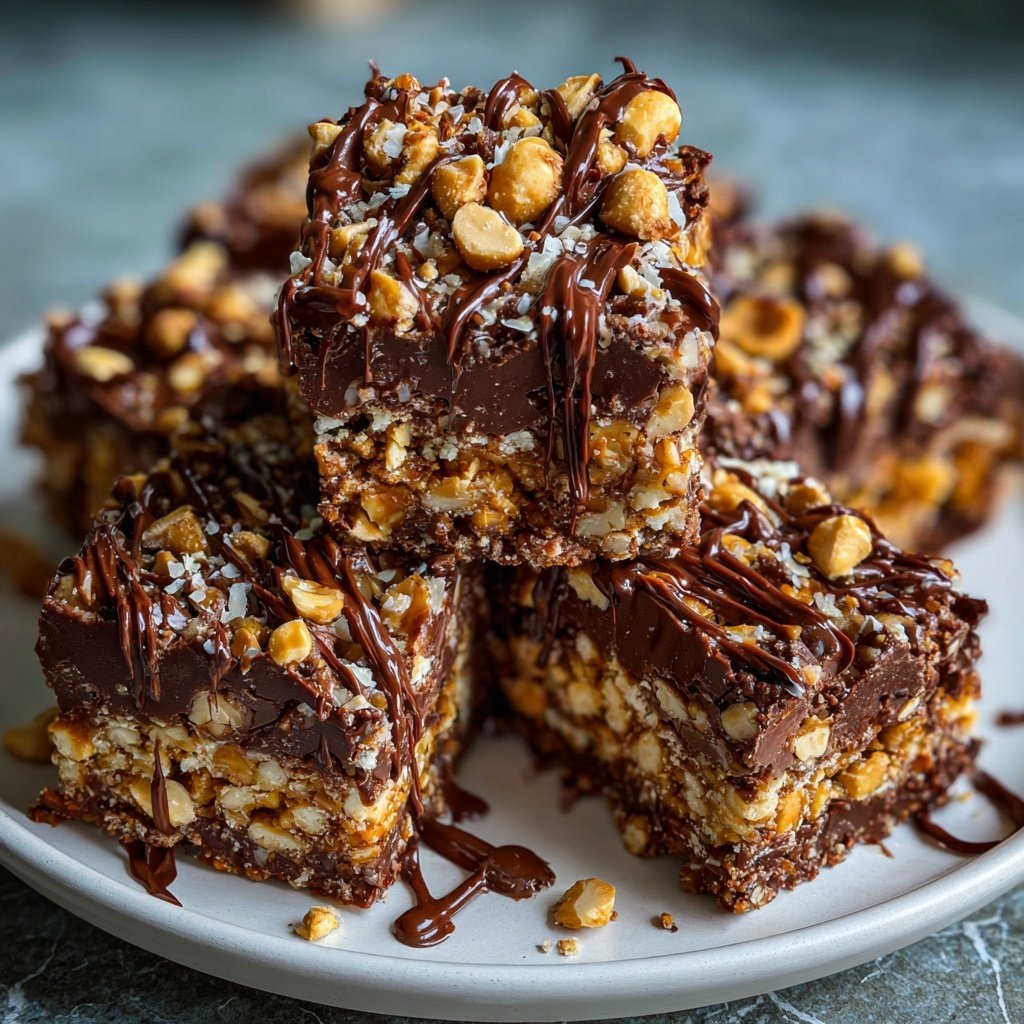
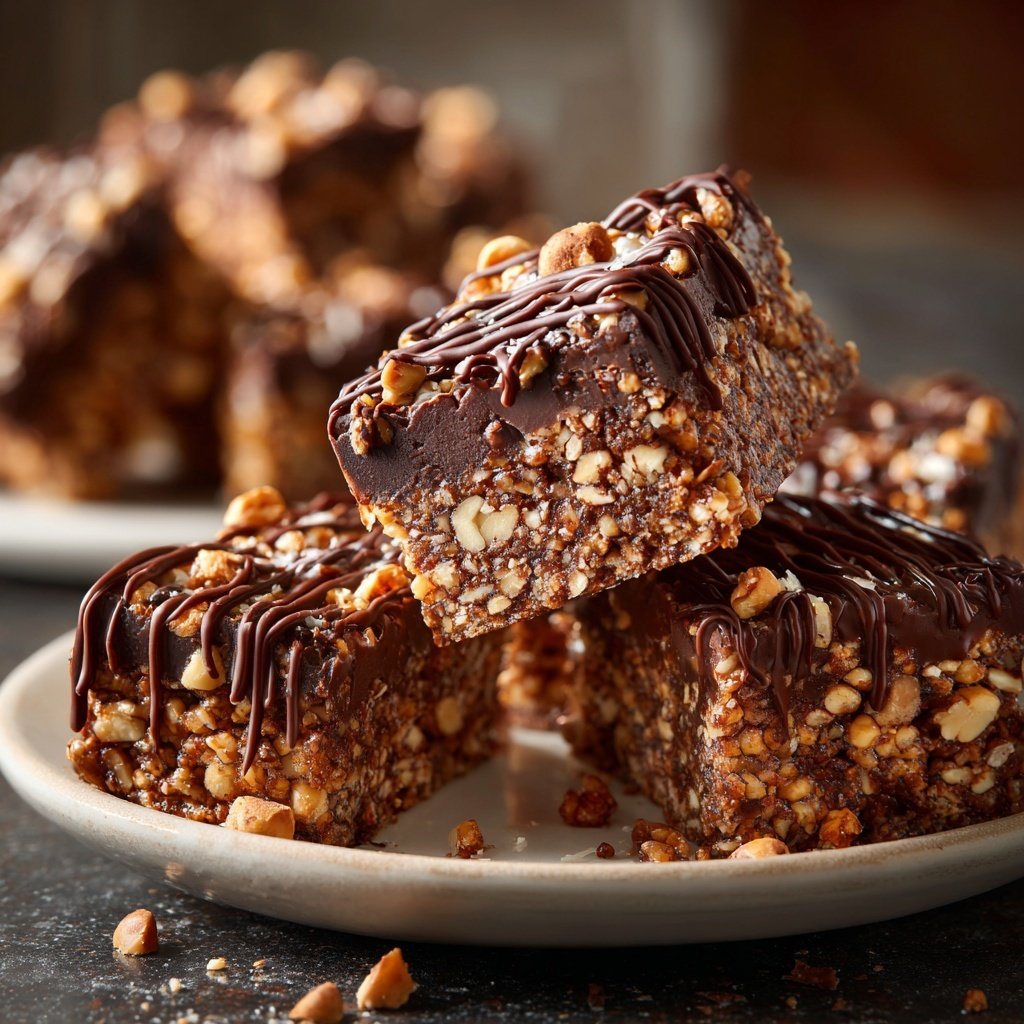
I absolutely love making these Chocolate Hazelnut Truffle Bars for special occasions. The delightful blend of rich chocolate and crunchy hazelnuts creates an irresistible treat that everyone adores. The process of layering different textures and flavors feels almost like a beautiful art project, and I enjoy every minute of it. With just a handful of ingredients and some simple steps, you can create these decadent bars that make any gathering feel like a celebration. They are a true crowd-pleaser and perfect for sharing with friends and family.
When I first tried my hand at making these Chocolate Hazelnut Truffle Bars, I was amazed by how easily the flavors came together. The smooth chocolate combined with roasted hazelnuts creates a perfect balance of sweetness and nuttiness. One tip I discovered is to toast the hazelnuts before adding them to the mixture; it really intensifies their flavor and elevates the overall experience.
As I continued to perfect this recipe, I realized that letting the bars chill in the refrigerator makes them easier to cut and enhances their fudgy texture. Each bite is a delightful explosion of flavor, and I can't help but share them every chance I get!
Why You'll Love This Recipe
- Decadent chocolate that envelops crunchy hazelnuts
- Smooth texture that melts in your mouth
- Perfect for sharing at gatherings or as a luxurious treat
Mastering the Truffle Base
Creating a smooth truffle base is essential for the perfect texture of your Chocolate Hazelnut Truffle Bars. Ensure that the heavy cream is heated over medium-low until just starting to simmer, avoiding boiling, which can cause it to curdle. After you add the dark chocolate chips, let the mixture sit for about a minute before stirring to achieve a glossy consistency. If your chocolate doesn’t melt completely, return it to a low heat for a few seconds while stirring continuously.
Incorporating powdered sugar brings a subtle sweetness and helps stabilize the truffle base. You can experiment with different sweeteners; for a lower sugar option, consider using a sugar substitute like erythritol. Just remember to adjust the amount according to the sweetness level of your chosen sweetener, ensuring that the balance of flavors remains perfect.
The Importance of Chilling
Chilling the truffle mixture is a crucial step, as it allows the bars to firm up properly before cutting. This should be done for at least 30 minutes, but I recommend leaving it for an hour for an even better consistency. If you find the mixture too soft after chilling, it may need a little more time in the refrigerator to harden. A perfectly set truffle mixture will hold its shape well without crumbling when you slice it into bars.
When lifting the truffle mixture out of the baking dish, use the parchment paper as a handle. If the edges stick, gently run a knife around to loosen it. For clean cuts, use a hot knife (dip it in hot water and dry it off) when slicing; this will help create smooth edges on your bars and enhance their presentation.
Finishing Touches for Presentation
The melted chocolate coating not only adds a glossy finish but helps to seal in the flavors of the truffle bars. When melting chocolate, do it slowly—microwave in short bursts of 20-30 seconds while stirring in between to avoid scorching the chocolate. The texture should be silky and pourable; if it becomes too thick, adding a few drops of vegetable oil or cocoa butter can help regain the desired consistency.
Garnishing with crushed hazelnuts not only enhances the visual appeal but also adds a delightful crunch. If you want a variation, consider using other nuts like almonds or walnuts, but be mindful of flavors so they complement rather than overpower the chocolate. These textured toppings can make each bite even more enjoyable.
Ingredients
Ingredients
For the Truffle Base
- 1 cup dark chocolate chips
- 1/2 cup heavy cream
- 1/2 cup chopped hazelnuts
- 1/4 cup powdered sugar
- 1 teaspoon vanilla extract
For the Topping
- 1/2 cup dark chocolate chips (for melting)
- 1/4 cup crushed hazelnuts (for garnish)
Instructions
Instructions
Prepare the Truffle Mixture
In a small saucepan, heat the heavy cream over medium-low heat until it's just about to boil. Remove it from the heat and add the dark chocolate chips. Let it sit for a minute before stirring until smooth. Mix in the powdered sugar, vanilla extract, and chopped hazelnuts. Pour the mixture into a lined baking dish and let it cool for about 15 minutes.
Chill and Cut
Once the mixture has cooled, place it in the refrigerator for at least 30 minutes, or until it's firm enough to cut. Once set, lift the truffle mixture out of the pan using the edges of the parchment paper and cut it into bars.
Prepare the Chocolate Coating
Melt the remaining chocolate chips in a microwave or double boiler until smooth. Dip each bar into the melted chocolate, allowing the excess to drip off. Place the chocolate-coated bars on a parchment-lined tray.
Garnish
Sprinkle the crushed hazelnuts over the wet chocolate coating before it sets. Refrigerate the bars again until the chocolate has hardened, about 30 minutes.
Pro Tips
- For an extra layer of flavor, you can add a teaspoon of espresso powder to the chocolate mixture before chilling. This enhances the chocolate's richness without making it taste like coffee.
Storage Tips
These truffle bars can be stored in an airtight container in the refrigerator for up to two weeks. It's essential to keep them cool, as the chocolate coating can soften if left at room temperature for too long. For longer storage, you can freeze the bars; wrap them individually in plastic wrap and then place them in a freezer-safe bag. They can last up to three months in the freezer, making them a great make-ahead treat for upcoming events.
When you're ready to enjoy the frozen bars, simply transfer them to the refrigerator for a few hours to thaw. For a quick treat, you can also let them sit at room temperature for about 30 minutes. This way, the chocolate will be soft but not melted, providing the perfect bite.
Creative Variations
Feel free to experiment with additional flavors in your truffle mixture! For a hint of espresso, you can add a teaspoon of instant coffee granules to the heavy cream before combining it with the chocolate. This pairs beautifully with the hazelnuts and intensifies the chocolate flavor. Alternatively, a splash of orange extract can add a refreshing twist, complementing the richness of the chocolate.
Consider making a layered version of these bars, adding a thin layer of caramel or a fruit puree between the truffle base and the chocolate coating. This not only adds another flavor dimension but also an intriguing aesthetic appeal when cut into bars.
Troubleshooting Common Issues
If your chocolate coating turns grainy, it may be due to cooking it too quickly or using chocolate that has seized. To avoid this, always melt chocolate over low heat and stir frequently. If you face issues with melted chocolate hardening prematurely, reheat gently to restore its original pourability. Incorporating a small amount of vegetable oil can also help improve consistency.
If the truffle filling is too soft, check for proper cooling time. If needed, you can add more chopped hazelnuts or a tablespoon of melted chocolate to help firm the mixture before cutting. It’s all about achieving that perfect texture for these indulgent treats!
Questions About Recipes
→ Can I use milk chocolate instead of dark chocolate?
Yes, milk chocolate can be used, but it will result in a sweeter truffle.
→ How should I store these truffle bars?
Store them in an airtight container in the refrigerator for up to a week.
→ Can I freeze the truffle bars?
Yes, you can freeze them for up to three months. Just make sure to wrap them individually.
→ What can I substitute for heavy cream?
You can substitute with coconut cream or a dairy-free alternative for a vegan version.
Chocolate Hazelnut Truffle Bars
What You'll Need
For the Truffle Base
- 1 cup dark chocolate chips
- 1/2 cup heavy cream
- 1/2 cup chopped hazelnuts
- 1/4 cup powdered sugar
- 1 teaspoon vanilla extract
For the Topping
- 1/2 cup dark chocolate chips (for melting)
- 1/4 cup crushed hazelnuts (for garnish)
How-To Steps
In a small saucepan, heat the heavy cream over medium-low heat until it's just about to boil. Remove it from the heat and add the dark chocolate chips. Let it sit for a minute before stirring until smooth. Mix in the powdered sugar, vanilla extract, and chopped hazelnuts. Pour the mixture into a lined baking dish and let it cool for about 15 minutes.
Once the mixture has cooled, place it in the refrigerator for at least 30 minutes, or until it's firm enough to cut. Once set, lift the truffle mixture out of the pan using the edges of the parchment paper and cut it into bars.
Melt the remaining chocolate chips in a microwave or double boiler until smooth. Dip each bar into the melted chocolate, allowing the excess to drip off. Place the chocolate-coated bars on a parchment-lined tray.
Sprinkle the crushed hazelnuts over the wet chocolate coating before it sets. Refrigerate the bars again until the chocolate has hardened, about 30 minutes.
Extra Tips
- For an extra layer of flavor, you can add a teaspoon of espresso powder to the chocolate mixture before chilling. This enhances the chocolate's richness without making it taste like coffee.
Nutritional Breakdown (Per Serving)
- Calories: 250 kcal
- Total Fat: 18g
- Saturated Fat: 10g
- Cholesterol: 30mg
- Sodium: 60mg
- Total Carbohydrates: 24g
- Dietary Fiber: 2g
- Sugars: 18g
- Protein: 3g